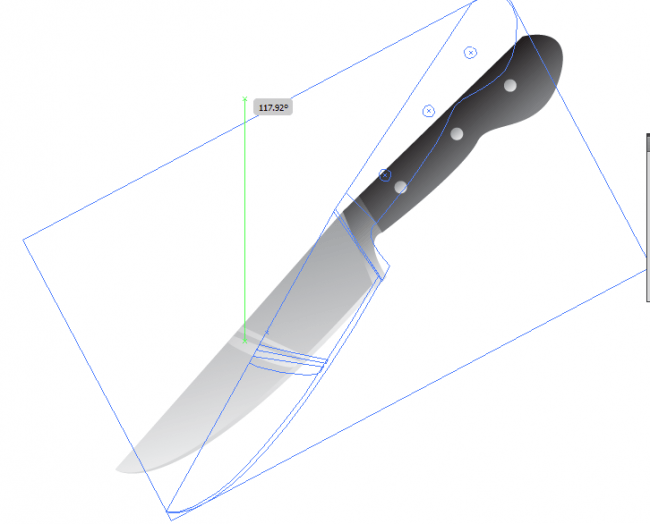
Welcome to this step by step tutorial in creating a knife vector icon in Adobe Illustrator. Whether you will be using this icon for web design, or even printed materials such as catalog prints, flyer printing, and posters, these vector graphics will always look crisp and sharp, simply because they are easily scalable. So just follow the steps below and even you as a beginner should easily discover how to create your own knife vector icon.
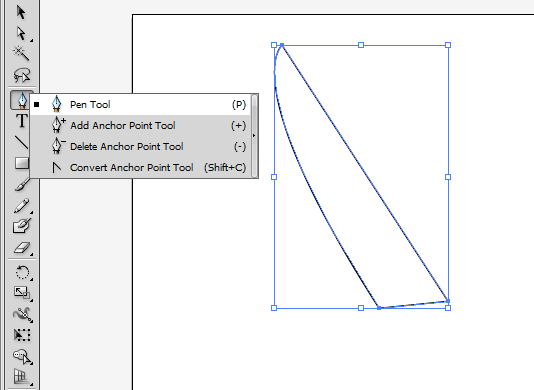
1. The first step to creating the knife is of course creating the basic knife shape. With a new document open, use the pen tool to draw your knife. Now, there are different types of knives, but for our purposes, we are going to use a classic kitchen knife shape. Create the shape by drawing three anchor points just like this shape.
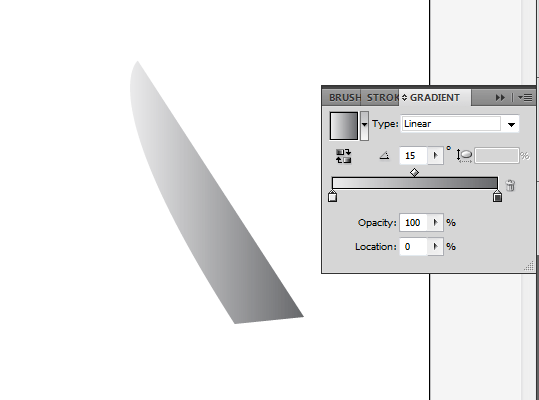
2.With the basic shape ready, remove the black stroke, and add a light grey to grey gradient like so. Make sure that you adjust the angle of the gradient color so that the lighter side of the gradient is on the cutting side of the knife.
3. Now, duplicate the knife shape by pressing CTRL+C then pressing CTRL+Vwhile the knife shape is selected. Once duplicated, reposition it back over the original knife shape. Then use the Direct Selection tool(shortcut A) to extend the bottom-left anchor a little bit as you can see below.
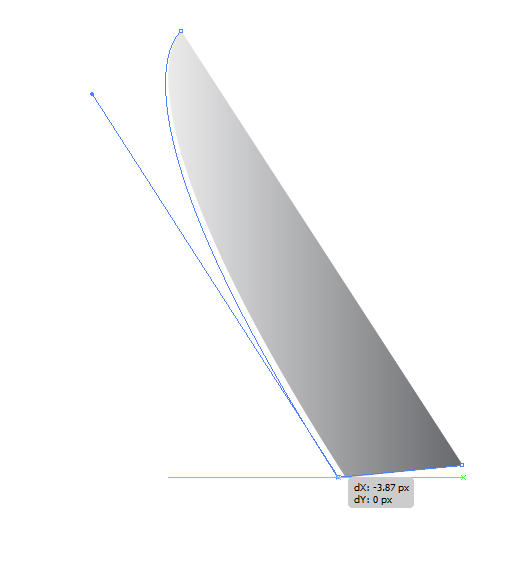
4. Next, send this shape to the back by right-clicking on it and choosing the send to back option. Also change its gradient color to a grey and light grey gradient, coming from top to bottom. Just adjust the angle and color gradient as you can see below.
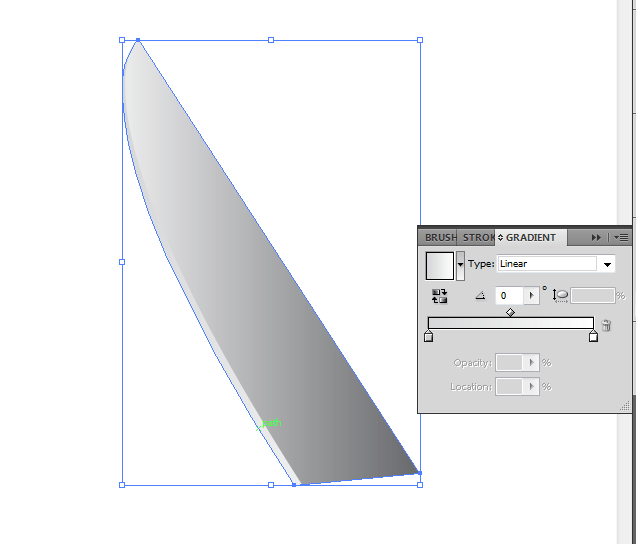
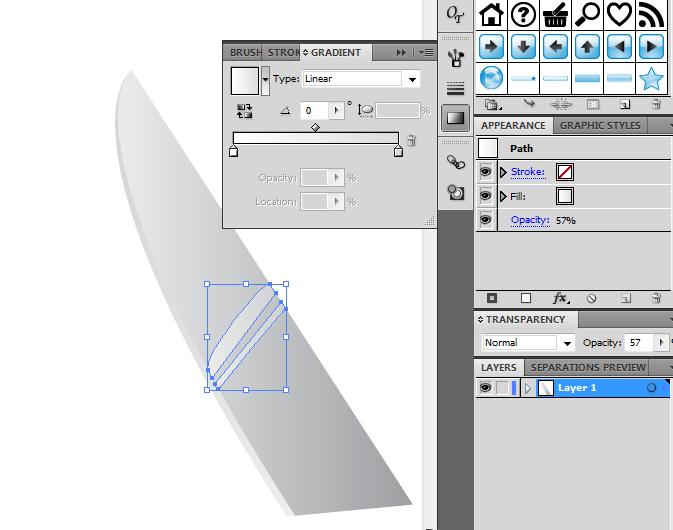
5.Next, draw two bent rectangles into the middle of your knife shape. Weare creating the shine of the knife here. Color them to shades of light grey (white slightly darker of course), and then add a gradient that goes left to right along the angle of their slope. Reduce their transparency to around 60% using the transparency panel.
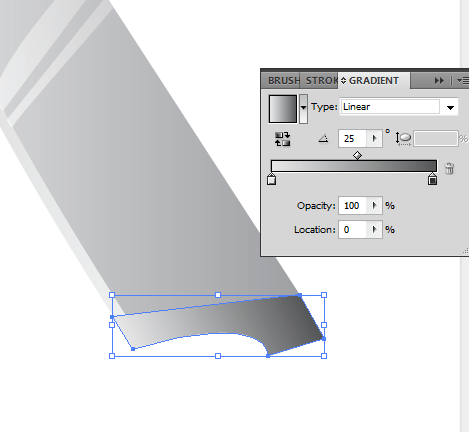
6.Next, draw the part where the knife attaches to the handle. Again we are using the pen tool here. We used five anchor points here. Color it with a grey to dark grey color like so.
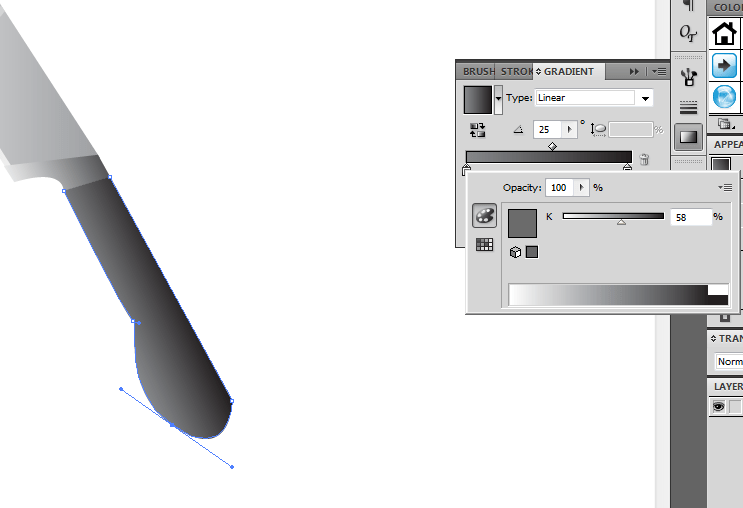
7.Next, you will want to draw the handle. This can be tricky with the pen tool, but you only need to use 5 anchor points as you see below. Make sure you add a black to dark grey color for this shape.
8. Using the ellipse tool, draw three small circles into the handle. Remember that you can hold down the SHIFT key as you drag the ellipse tool to make sure that the circles have constrained proportions creating a perfect circle. Color them a light grey and grey gradient. Make sure they do not have strokes, and they align perfectly across the handle.
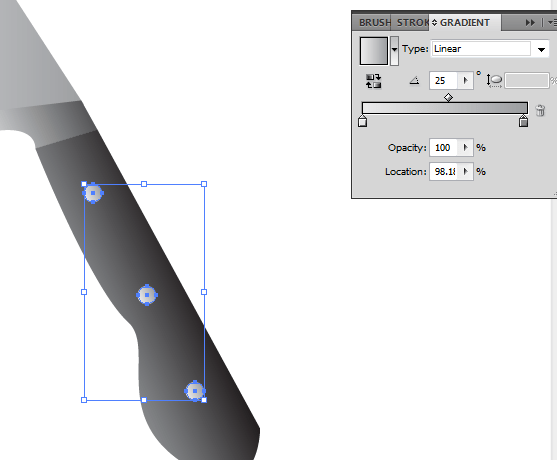
9. Great! Now you have a nice kitchen knife icon to use for your various specialized designs.
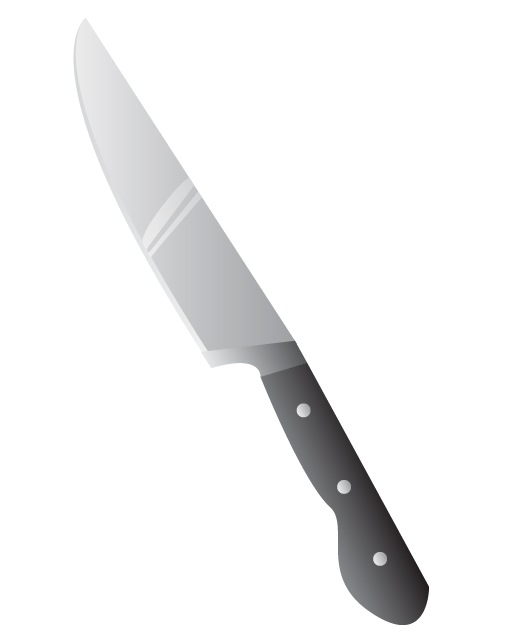
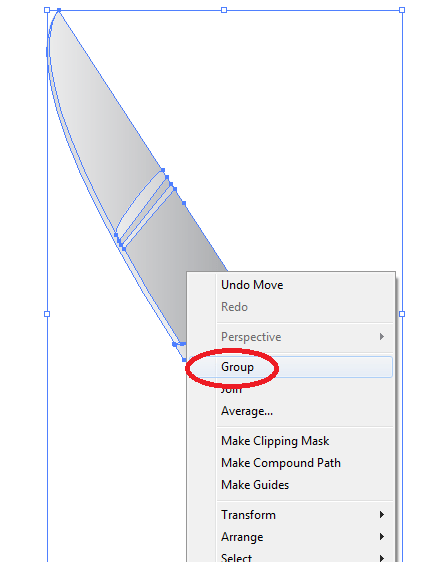
10.To easily manipulate its orientation, group the whole thing together by right-clicking on the knife and selecting “Group” in the context menu.
11.Then, with the selection tool activated, hover your mouse near the selection box. When you see a curved arrow cursor, you can then rotate the knife at will to your desired angle.
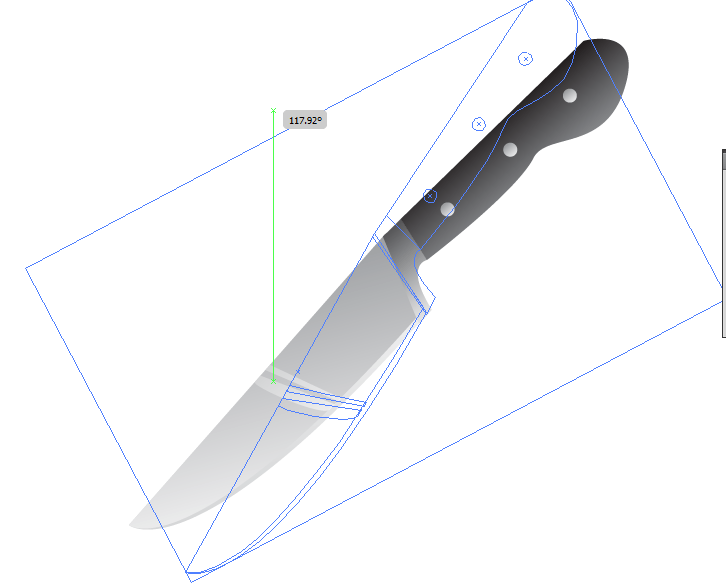
12.You can then just easily put the knife into anything that it must cut, just like an orange. Here we have placed an ellipse circle shape, with orange gradient color. We just sent the orange circle to the front with the knife positioned at the back, extruding on top of the orange.

Great! Now you know how to create a nice Knife icon from scratch.
