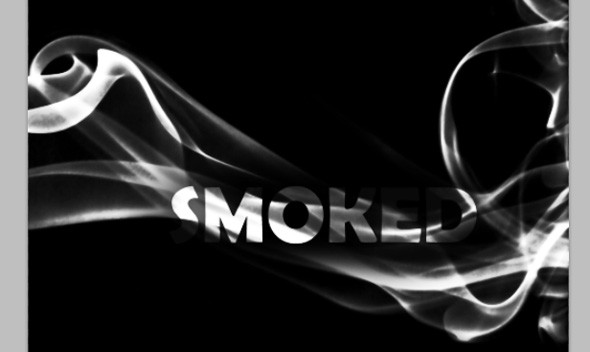
A mysterious and classy way to add more sizzle to your text is to cloak engulf them in smoke. This effect can definitely add more thrill to your boring catalog print designs and flyers. Let’s begin.
STEP 1
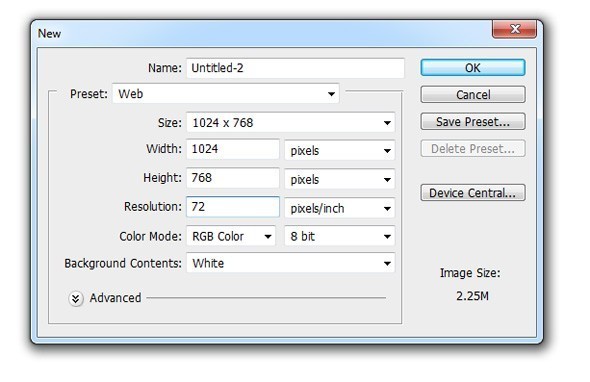
Initially, you will want to set up your document of course. Use a very wide area dimension though to make sure the text and smoke effect will fit. Pay attention to the resolution as well. Printing this type of design means using a large resolution (300ppi) to make it look great in print.
STEP 2
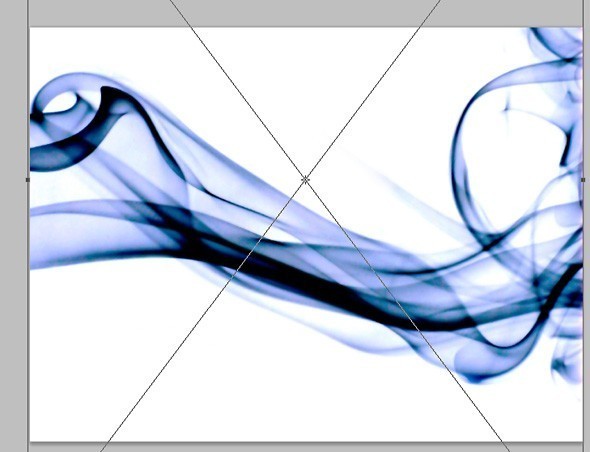
With a new document open, first, paste in your smoke image. It is best to get a real smoke image to get the real authentic effect. Make sure though that you are using a high-resolution image as well. Do not worry about the color of your smoke image for now.
STEP 3
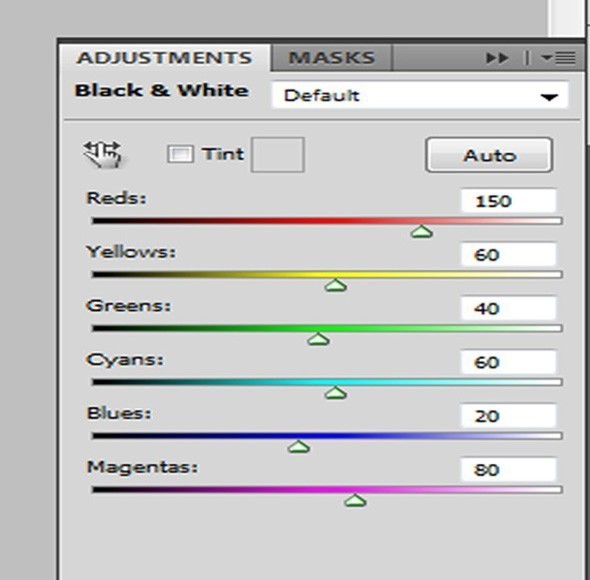
Now, first, we shall remove the color values for our smoke (since it is blue). Just go to Layer -> New Adjustment Layer -> Black and White. Use the default values, but change the Reds value to 150%.
STEP 4
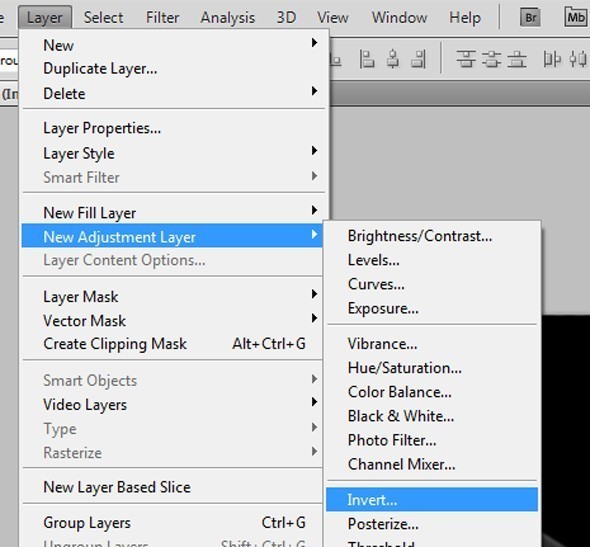
Then go Layer -> New Adjustment Layer -> Invert…
STEP 5
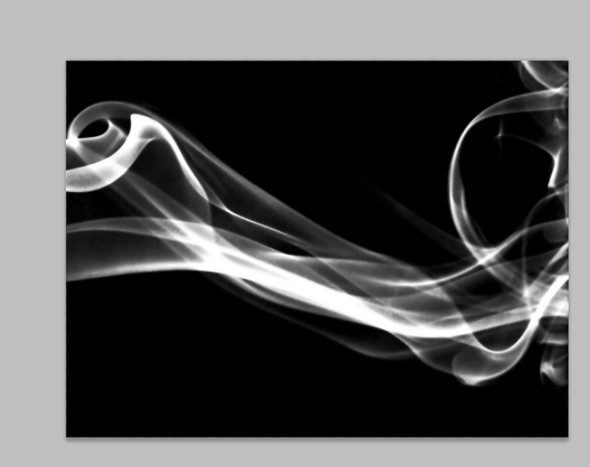
This gives us white smoke and black background as our image. Take note that you now have two new adjustment layers on top of our main layer.
STEP 6
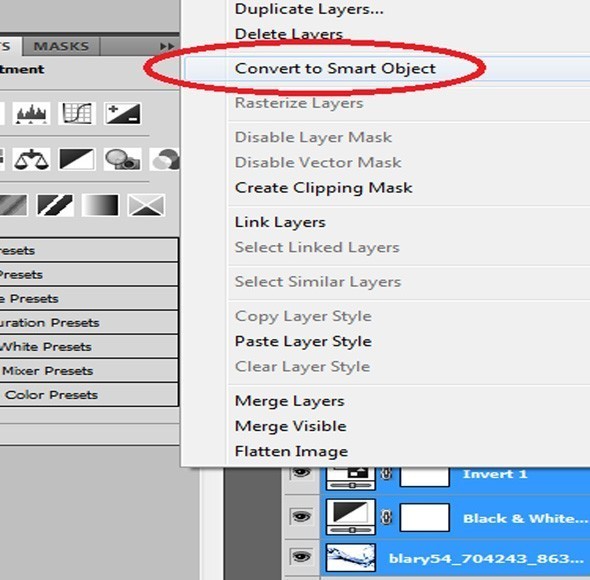
Next, select all of your layers, and then right-click on them. Select the option to create a SMART OBJECT, so that you can easily manipulate all three layers.
STEP 7
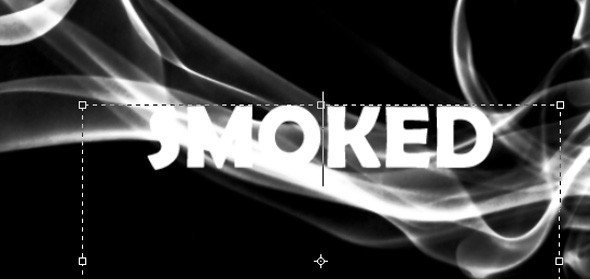
Now we add the title. Just use the Text tool to type in the title that you want. Use white color for your text for now. Also, make sure you choose your font style carefully so that it matches the smoke theme that you are trying to achieve. It would be good to use a blockier, thicker text usually so that people can see the full smoke effects in and around them.
STEP 8
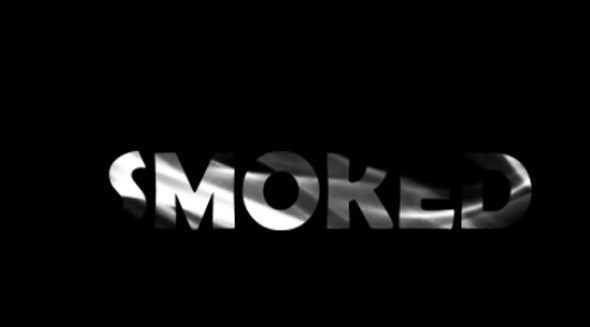
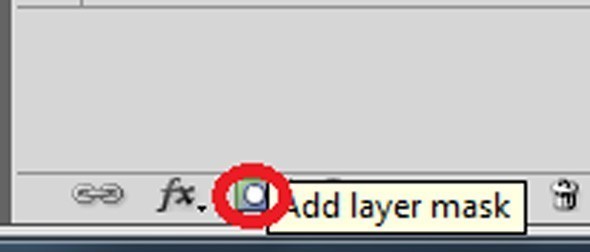
Now, hold down the CTRL key and click on the image thumbnail of your text layer. This selects the area of the text of your layer. Then, click on our smart object smoke layer below. At the bottom of the Layers panel, click on the option “Add Layer mask”. You will see the smoke around the text disappear leaving only your text. Hide the text layer itself, and you will see that only a silhouette of the smoke in the shape of our original text has appeared.
STEP 9
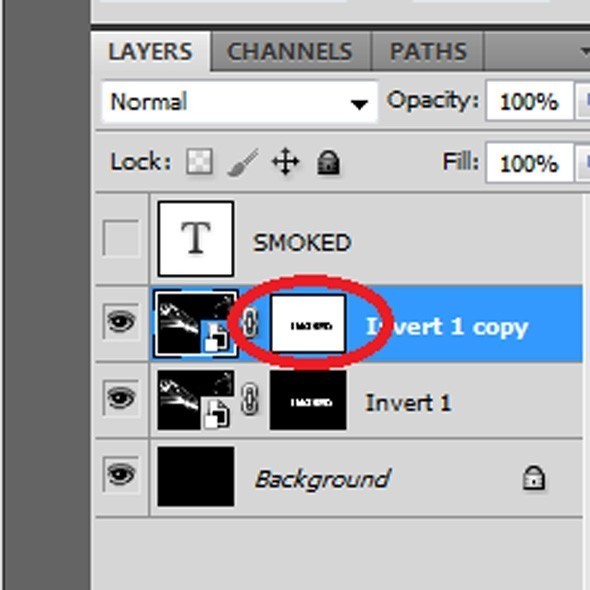
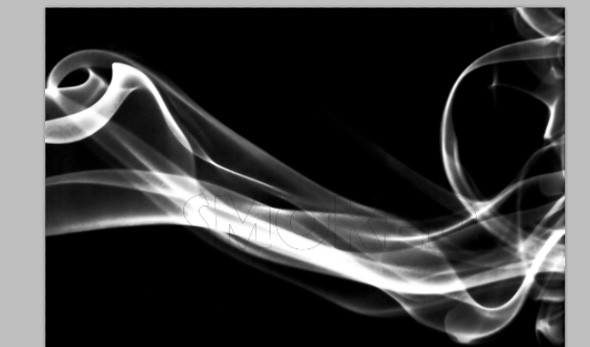
Now duplicate our smart object with a layer mask. On the duplicate, select the layer mask thumbnail by clicking on it. Then Press CTRL+I to invert it. You will now see that the smoke layer reappears again.
STEP 10
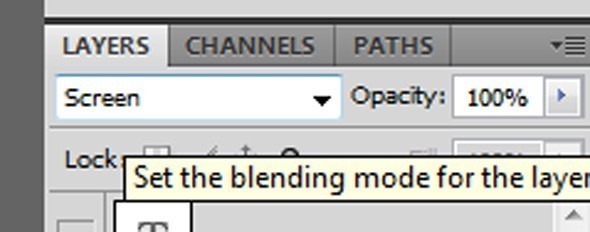
Now, here comes a bit of a wordy part, but read carefully. Create a layer by clicking on the folder icon at the bottom of the Layers panel. Drag your duplicated layer here. Change the blend mode of that layer to SCREEN.
STEP 11
Then, select the layer group again and then click on the ADD LAYER MASK button at the bottom of the Layers panel again.
STEP 12
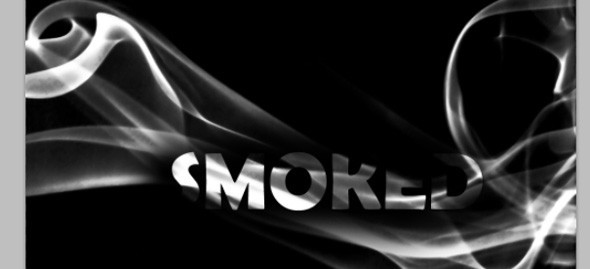
Then, click on the brush tool. Colour this black. Right-click on the canvass while using the brush and set its hardness to 100%. Once done, just use the brush to make your smoked text appear.
STEP 13
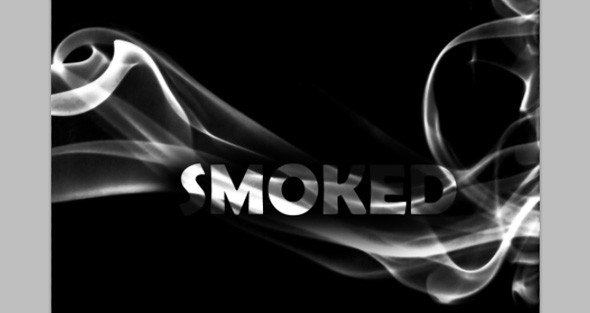
Of course, some parts of the characters will be missing. Just unhide your original text layer from the layer and then reduce its opacity to 10%. This should give your text subtle completeness even though the smoke effect is of course more emphasized.
STEP 14
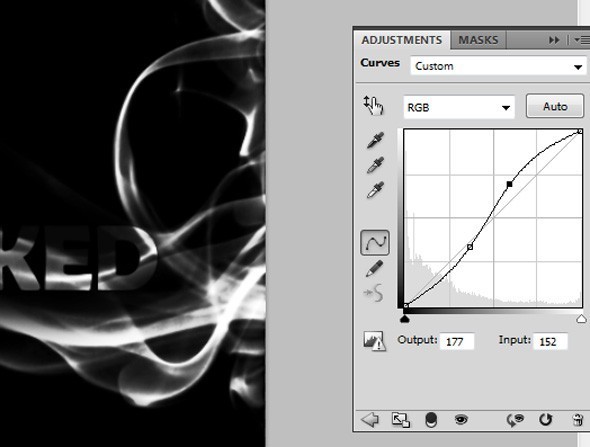
Finally, go to Layer -> New Adjustment Layer -> Curves. Place this layer on the top of all layers and then apply the curve shape below.
FINAL IMAGE
Once done with the adjustments, you should now have a great looking text that is highlighted with smoke. Congratulations!
