
Jetpack is the Swiss-army plugin for WordPress: brute-force protection, downtime monitoring, backups, spam filtering and a free image CDN in one install, made by the team behind WordPress.com. We run it ourselves – here is the exact 15-minute setup.
Step 1: Install Jetpack
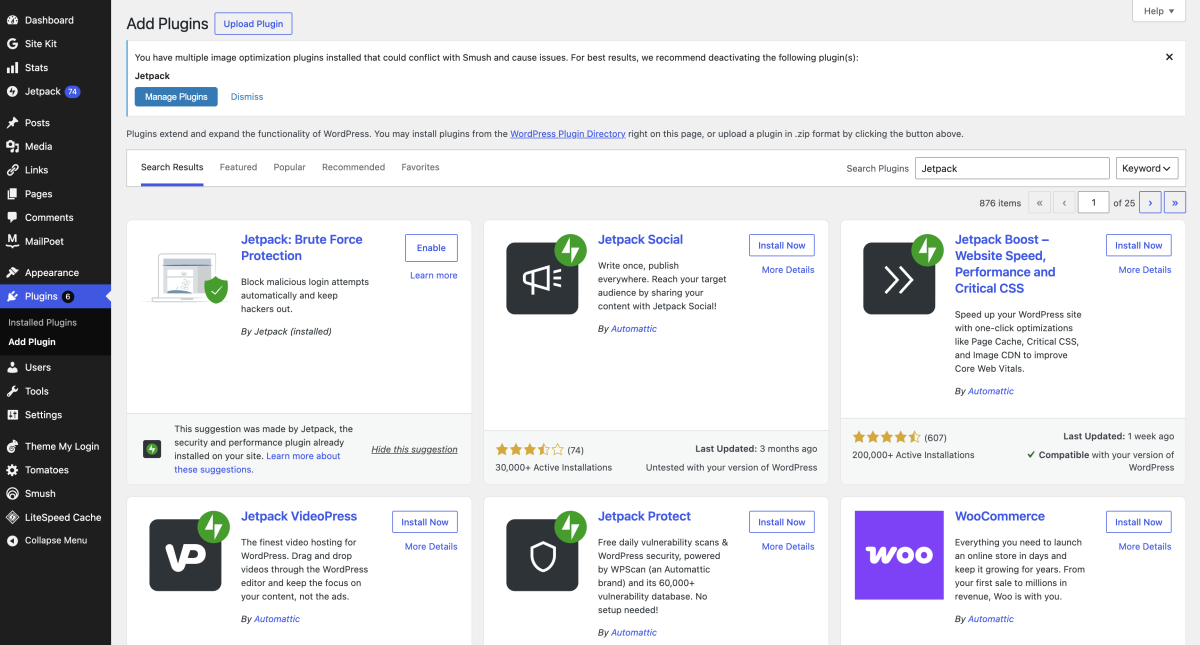
In your dashboard go to Plugins – Add New, search “Jetpack”, Install and Activate.
Step 2: Connect a WordPress.com account
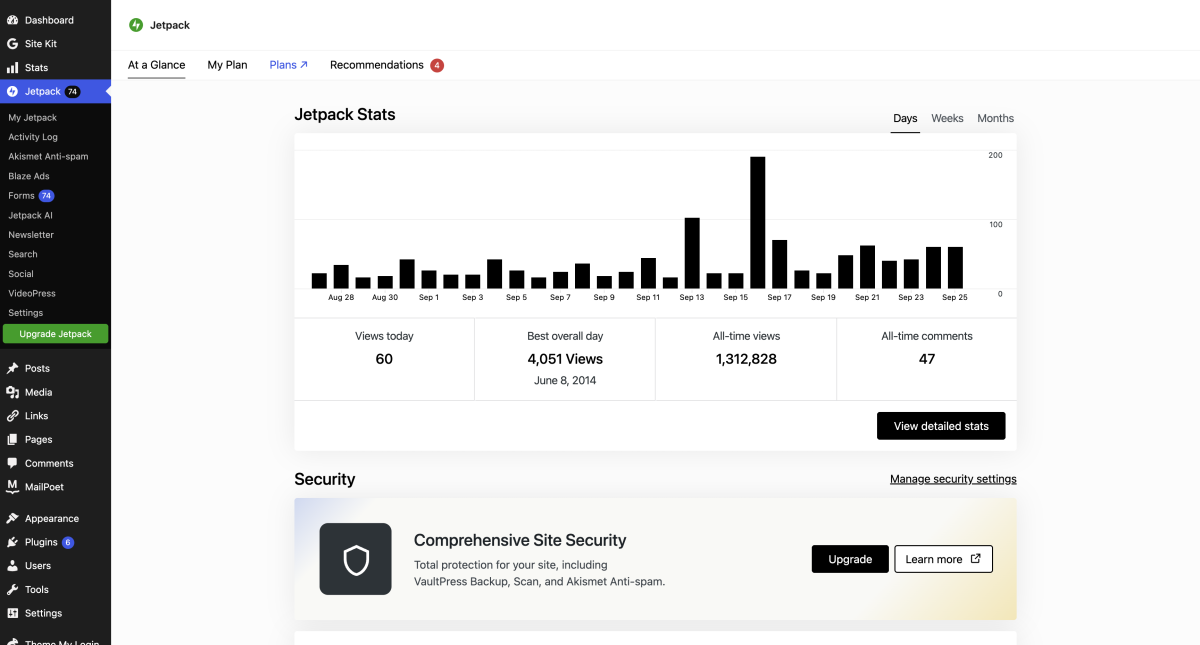
Jetpack asks you to connect – this links your site to WordPress.com services (free account). Approve the connection.
Step 3: Turn on brute-force protection
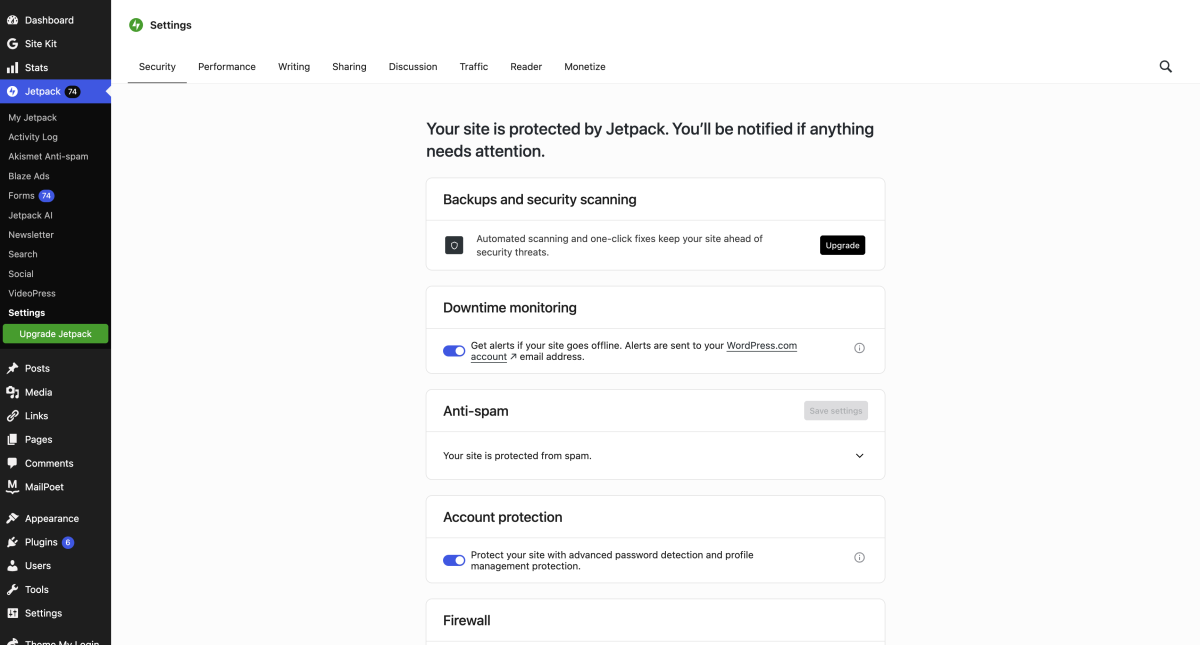
Go to Jetpack – Settings – Security and enable “Brute force attack prevention”. On our own sites this blocks hundreds of automated login attempts per day before they touch WordPress.
Step 4: Enable downtime monitoring + image CDN
Turn on downtime monitoring (free email alerts the minute your site goes dark) and Site Accelerator under Performance – it serves your images from a global CDN, which visibly speeds up image-heavy posts.
Free vs paid: when to upgrade
The free plan covers protection, monitoring and CDN. Paid Jetpack plans add automated daily backups, malware scanning and priority support – worth it the week your site earns its first dollar or hosts client work. Annual plans carry the best value.
Troubleshooting: 3 common Jetpack setup issues
1. “Connection failed” error. This is almost always a cached login state. Log out of WordPress.com in another tab, clear your browser cache for the site, and click Connect again. Aggressive security plugins can also block the XML-RPC handshake Jetpack needs – temporarily pause them during setup.
2. Stats stay at zero after connecting. Jetpack stats start counting from activation, with a few hours delay. If still flat after 24 hours, check Settings – Traffic and confirm the stats module is on, then visit the site once from a logged-out browser.
3. Locked out by brute-force protection. Ironically, your own failed logins can trigger it. Wait 15 minutes, log in from your usual network, and whitelist your IP under Jetpack – Settings – Security if your host rotates addresses.
Bottom line
For a new blog, Jetpack replaces four separate plugins with one maintained by Automattic itself. Install it on day one, alongside our must-have plugins stack.
Disclosure: this post contains affiliate links. If you buy through them, we may earn a commission at no extra cost to you. See our Affiliate Disclosure.